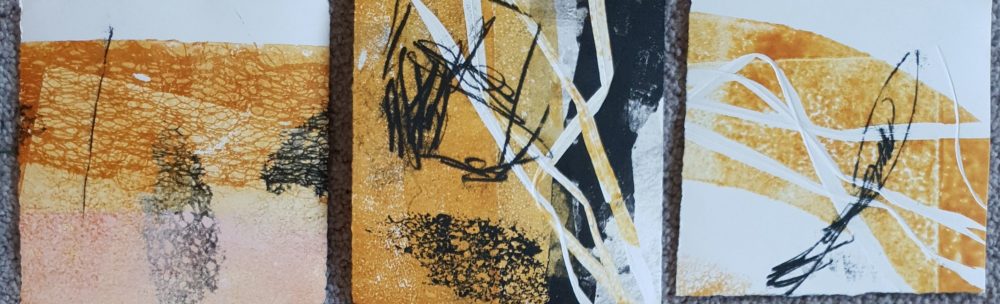
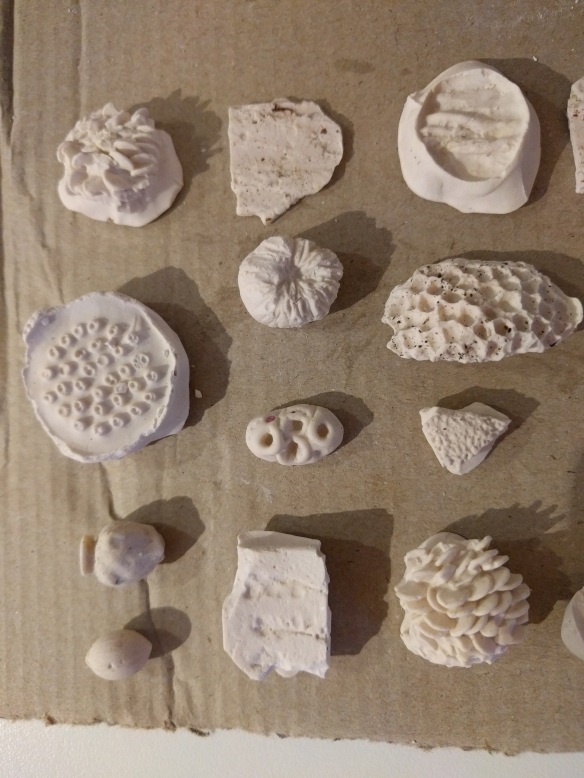
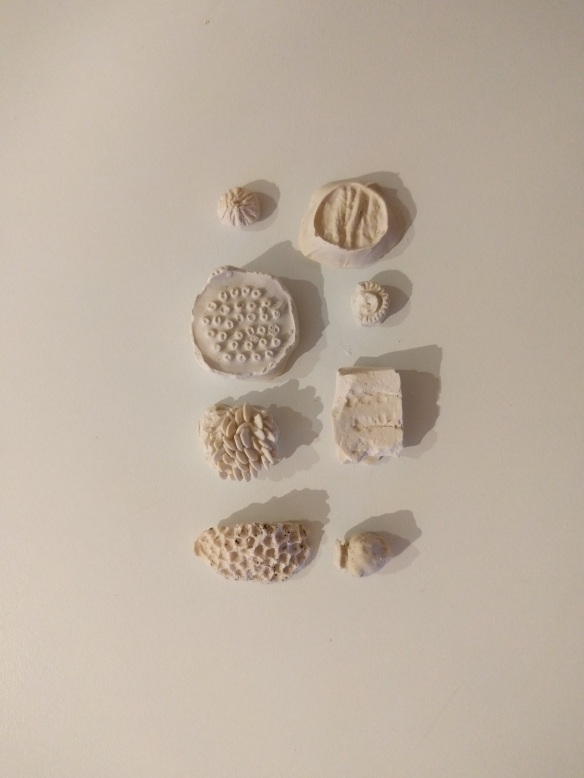
There’s a cave. There’s a fireplace at the back of the cave where thick logs are burning. Against the left wall stands a boulder. On the boulder are my platonic forms, the as yet unarticulated perfect objects inside my head. The light is so flickering and dim, I can’t see them clearly. Occasionally I see a few details in the light of a flare from the fire.
They’re the dream-forms I’m always trying to draw, or photograph, or make. I feel like I can tell, when I look at each thing I’ve made, how far away it is from the essence of what I want. Over the years, learning new skills, finding out about new things, I slowly get closer to my dream-form.
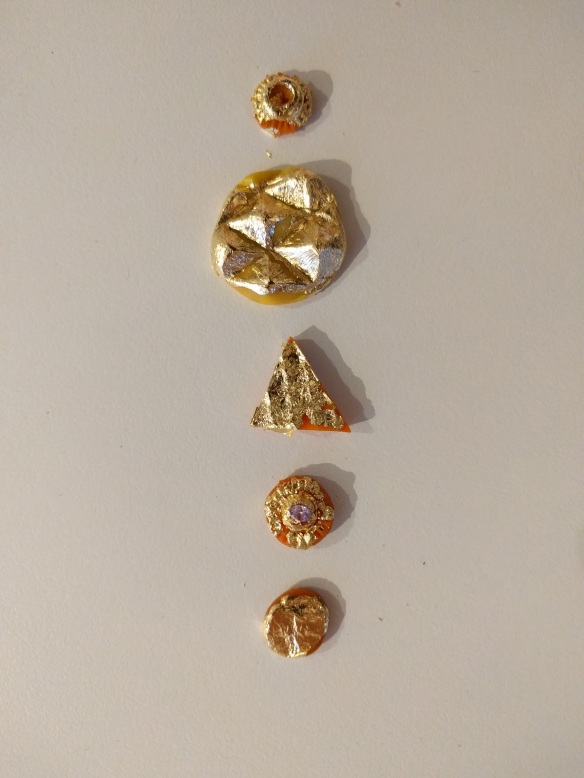
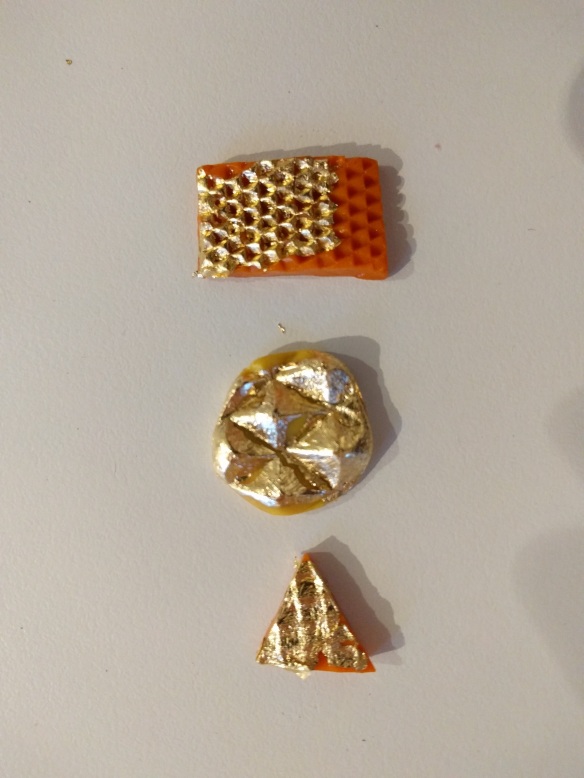
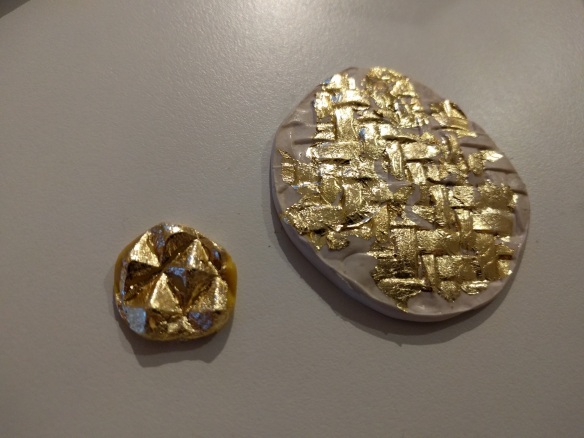
I recently found out about a beautiful new technique that will help me get there. Electroforming. Here are some of the electroformed pieces I found that I particularly love:

 (http://carlotta-wwwsplendor.blogspot.co.nz/2011/02/ornella-iannuzzi.html)
 (http://www.klimt02.net/jewellers/jillian-moore)

 (https://www.snagmetalsmith.org/members/GerardE/)
“Electroforming (also electroplating) is the process of coating organic and other objects with a thin layer of real metal (silver, copper, gold, etc.). Electroforming allows you to use complex natural shapes in jewelry-making projects without difficult (or impossible) fabrication. Electroforming requires the use of a rectifier, electroforming liquid, graphite paint, and other supplies.” http://www.jewelrymakingdaily.com/topics/electroforming.aspx
http://www.jewelrymakingdaily.com/blogs/daily/archive/2012/09/12/fun-lessons-learned-four-things-i-learned-while-electroforming.aspx

My problem right now is that the equipment for electroforming involves electricity and chemicals, both things that I am unfamiliar with. Of course, I could buy the $500 electroforming kit. But I don’t want to spend that much money before I can figure out if I really like it. So, this post is going to be about how to set up the cheapest possible effective electroforming system. It’s going to start from the very beginning, and be comprehensible for me, who is totally non-technical.
[Be careful if you decide to follow any of these instructions – as you know already, obviously, electricity and chemicals can be dangerous!]
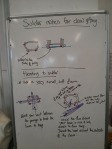
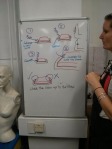
The basic principle of what you’re doing when you’re electroforming is making a circuit.
 http://en.wikipedia.org/wiki/Electroforming
“Electroformed metal is extremely pure, with superior properties over wrought metal due to its refined crystal structure. Multiple layers of electroformed metal can be molecularly bonded together, or to different substrate materials to produce complex structures with “grown-on” flanges and bosses.
The diagram above shows the electroforming process at work. The positively charged electroformed metal source (anode) at the left is broken down (ionized) in the copper electrolyte solution and is attracted to the negative charged mandrel (cathode). Build-up is achieved over all mandrel surfaces at an approximate deposition rate of .001″ per hour.” http://www.webcitation.org/5nFPhQ1UK
This is a good electroforming tutorial by Sheri Haab, but she uses a pre-made off the shelf AC/DC converter that you have to buy.
One of the things I need is a copper electroforming solution. This solution makes the electric current from a rectifier move in the beaker. Again, this is expensive from Regal Casting, and from Rio Grande in the USA. But I found an alternative at http://www.instructables.com/id/High-Quality-Copper-Plating/?ALLSTEPS ” Rather than buying copper acetate pre-made, we will make it ourselves” I like this attitude! Here are his instructions for making copper acetate:
“copper acetate. This chemical solution has positive copper ions that will be attracted to our negative cathodes when we do our electroplating. Please note that copper acetate IS poisonous. Please dedicate a container to it that will never be used for food and thoroughly wash your hands after coming into contact with it.
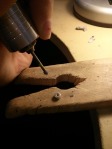
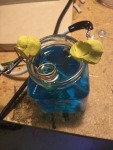
The first thing you need to do is add equal parts of distilled vinegar and hydrogen peroxide into your mason jar (ie “half and half”). Your ratio does not need to be exact. The hydrogen peroxide will cause the copper to oxidize quickly. This, in turn, allows the copper to react with the acetic acid in the vinegar quickly.
Heat the mixture in the microwave until it steams gently (about 1 minute, 45 seconds for me). This can also be done on the stove over low heat in a glass (not metal) container. The reason we are heating up the mixture is so that our copper reacts more quickly in the next step.
Wash your hands well to remove any oils form your skin.
Stretch out the copper scouring pad and break it into two pieces. Note that the copper wire may be sharp, so you may want to use gloves to do this.
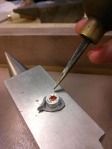
Place the copper into the warm vinegar/peroxide mixture. Screw on the lid and gently swirl.
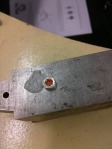
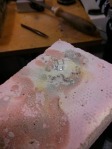
As time passes, the liquid in the jar will become more and more blue. The blue color comes from the copper ion in the copper acetate that is being created. The longer you leave the copper in the mixture, the more saturate and the more blue the solution will become.
Note that the goal is NOT to create a very saturated copper acetate solution. In fact, it is far better to have a weaker solution than a stronger one. When we start electroplating, we want the copper atoms to create very even layers on our object. If the copper builds up too fast, it will not adhere well and you will get “burn” spots.”
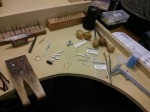
Another thing you need for electroforming is a rectifier – an electrical device that converts alternating current from your house (AC) to a direct current (DC) which flows in only one direction. I started searching for these and was dispirited when I found out that jewellery rectifiers cost about $1200 if you get them through Regal Castings. I tried Trademe, which has car engine type converters for $400. Still expensive, and I wasn’t sure they would do the job. Someone suggested a computer power supply, so that is the path I’m going down.
Here’s instructions on how to convert a computer power supply into something (I think) I can use for electroforming:http://www.instructables.com/id/Convert-an-ATX-Power-Supply-Into-a-Regular-DC-Powe/?ALLSTEPS
Glossary
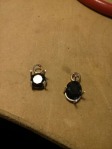
The anode (the metal object that the metal is transferred from)
The cathode (your jewellery bit – the thing you want the metal to be transferred TO)
A conductive medium – so the metal will adhere to your organic object. Again, lots of expensive options. I’m going to go with graphite powder mixed with water and applied.
A stop-out varnish – to mask out the bits you don’t want a metal buildup on.
My electroforming shopping list
| Electroforming shopping list |
Product name |
Cost |
Source |
| Power supply from an old computer |
Thanks Sam! |
0 |
|
| Alligator Leads (electrical) |
|
$3.00 x 2 |
Jaycar Electronics 264 Taranaki St |
| waterproof glue |
|
$19.99 |
|
| graphite powder |
Trojan 18g Graphite Powder / Hodern 50g |
$5.69 |
Bunnings |
| Hydrogen Peroxide (3% or higher, pharmacy) |
|
$5.99 per 100mls |
|
| Distilled White Vinegar (5% acidity or higher, grocery) |
|
$3.00 |
|
| mason jar/glass jar |
|
|
|
| 100% Copper scoring pad (cleaning supplies) / copper wire |
|
used alternative copper supply |
Supermarket |
| Conductive glue |
|
$12.99 |
Jaycar |
| gloves |
|
|
Supermarket |
|
|
|
|
| To convert the power supply |
|
|
|
| Insulating gloves |
Leather gloves – already had |
|
|
| Drill |
already have |
|
|
| Needle-nose pliers |
already have |
|
|
| Soldering iron |
electric soldering iron |
$50 (only iron)- $150 for a kit |
Jaycar Electronics 264 Taranaki St |
| Pro Soldering Gas Kit with Wire Strippers/Cutters/Heatshrink |
Pro Soldering Gas Kit with Wire Strippers/Cutters/Heatshrink |
$139 |
Jaycar Electronics 264 Taranaki St |
| 3 x “Banana Jack” Insulated Binding Post sets |
DIDN”T END UP NEEDING |
|
Jaycar Electronics 264 Taranaki St |
| 1 x bag of “#6” Ring Tongue Terminals (16-14 gauge) |
“eye terminals” – 4 different sizes. Which size? |
$3.50 |
Jaycar Electronics 264 Taranaki St |
| Rubber feet |
Rubber Feet – Small Stick On – Pk.4 (DIDN”T END UP NEEDING) |
$3 |
Jaycar Electronics 264 Taranaki St |
| Small bit of heat shrink. |
12 pack heat shrink tubes (shrink with a hairdryer) |
$11.67 |
Bunnings |
| Screwdriver |
already have |
|
|
| Wire strippers |
|
|
|
|
|
|
|


